
The TRUTH About Tig Weld Penetration (That No One Tells You)
Ever feel like you're chasing an impossible dream trying to get perfect Tig weld penetration? You're not alone. So many beginners believe they need flawless penetration from the get-go. But guess what? That's just not true.
I'm about to drop a hot take that might ruffle some feathers: Welding penetration isn't important when you're first starting out! I know, mind blown, right? It is important, but let's cross that bridge when we get there.
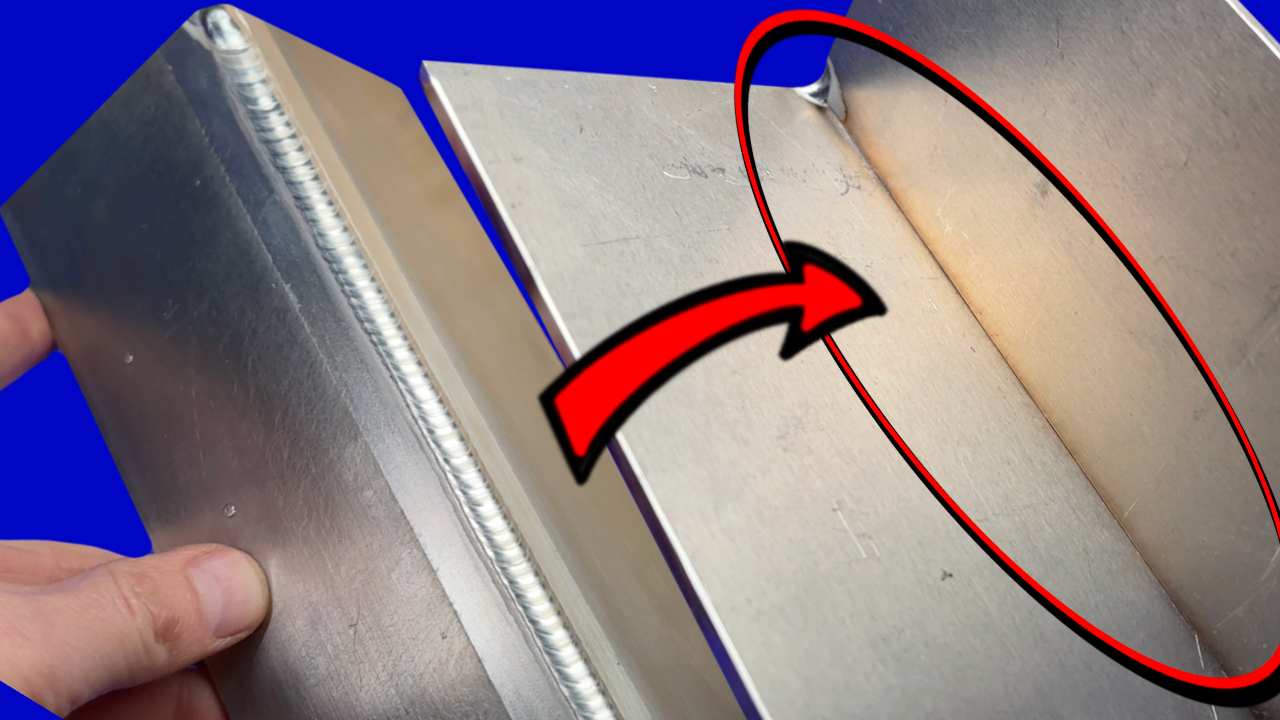
How can you possibly worry about what the back side of your weld looks like when we take one look at the TOP side, and we can clearly see that things don't look anywhere near where we want it to be. We're talking about mastering the visible part of the weld first. Nail that, and then we'll think about penetration.
And to help you on your journey, I've got a free TIG welding workbook that's packed with tips and tricks. Seriously, download it right here👉 Workbook
The Myth of Perfect Penetration
Picture this: You've got textbook technique, perfect heat control, you're feeding filler rod like a champ, and your arc is laser-focused. The result? A beautiful weld on top and a stunning, consistent bead of penetration underneath. Sounds amazing, doesn't it?
But let's be real. That's an unrealistic expectation for anyone just starting out. It sets you up for frustration and can kill your motivation to keep trying.
The reality is often… well, less perfect. Sometimes, you end up with a weld that looks like it has absolutely zero penetration. Zip. Zilch. Nada.
And you know what? That's okay! It's part of the learning process. Don't beat yourself up about it.
Why Top-Side Mastery Matters First
Here's the thing: You've gotta learn to crawl before you can run a marathon. The same goes for welding. Master what you can see and control first.
Those welding "experts" online who expect beginners to focus on both sides of the weld at once..? Ignore them! They've forgotten what it's like to pick up a torch for the first time.
Our goal is simple: Get consistent, repeatable results on the top side of the joint. Understand what's happening with the puddle, your filler, and your torch movement. Once you can do that consistently, then we can start thinking about penetration.
So, ditch the pressure to be perfect right away. Focus on mastering the basics, and the penetration will come. I promise.
What If You Don't See Penetration?
Okay, let's be honest. You're not always going to get perfect results like I just showed. Sometimes, you'll flip your piece over and see… nothing.
Don't panic! It's all part of the learning curve. That's where the workbook comes in. Got it downloaded adn ready to go? Good. Let's use it to troubleshoot some common issues.
The Importance of a Good Start
One of the biggest things I see with new welders is they don't have a good start. Penetration often starts showing up towards the end of the weld, especially when things heat up. The beginning, however, looks cold.
In the workbook, I touch on getting consistent results from start to finish. This means we need a good start to our welding pass. Take some extra time to make sure things look the way we want. If you aren't getting penetration, focus on getting the start right. Establish everything completely before moving.
Observing the Cleaning Action
Cleaning action is also a crucial element. Make sure you take the time to watch the puddle and how it reacts.
This is another detail that is established at the start of every pass. Be sure to give the cleaning action enough time to develop. Watch to make sure everything smooths out before moving. It's that simple!
Remember, "Fill and Chill." Don't rush the start of your weld.
Stepping Distance: Finding the Right Balance
How far you step can also make a difference. If you step too far apart, the penetration becomes inconsistent.
I find that stepping closer together can help with penetration. This helps focus the heat into the base material. Just be sure to match the correct amount of filler metal.
You don't want the filler metal to stack up in the center of the pass. Too much filler metal can block penetration.
Heat Input vs. Heat Focus
Instead of just cranking up the heat, focus on getting the heat down into the joint. Balance this with the perfect amount of filler material.
Here are a few ways to do that:
- Adjust your travel speed.
- Angle the torch to direct the heat.
Remember, we want focused heat, not just more heat. Don't make the problems you're having bigger, focus the heat instead!
Advanced Machine Settings: Frequency and Balance
If you have an inverter machine, you can adjust the frequency (Hertz). This narrows the arc cone.
You can also increase the negative side or decrease the cleaning side on the balance setting. This also helps punch the heat down into the base material.
Be careful with the balance settings, though! This can change some other variables.
The Truth About Thicker Materials
Okay, I've got to level with you. Even if you do everything right, you won't always see that perfect penetration on thicker materials.
Let's say you're doing a butt joint on quarter-inch steel. Are you really going to see that perfect ribbon of penetration on the back side? Probably not.
To get full penetration on thicker joints, you'd have to put down a massive, super-hot weld. In that case, I'd just bevel the joint and do a groove weld. Or, you can make multiple passes. Just because you don't see perfect penetration doesn't mean you've failed.
Back Gouging and Reworking
If you absolutely need full penetration on a thick joint, you can always back gouge the other side. Grind out the back of the weld, then weld it up nice and hot.
Welding is all about learning and making adjustments. Don't be afraid to rework something!
Final Thoughts: Focus on the Fundamentals
Alright, let's recap the key takeaways:
- Focus on the starts of each pass.
- Maintain consistent and focused heat.
- Use the perfect amount of filler material in relation to the amount of heat you're using.
- Use the correct stepping distance.
It's not always about needing more heat, it's about control. If you want to watch the full lennon on this Click Here!
Happy welding!
Download your exclusive Beginner's Guide to Aluminum TIG Welding!
Enter your information below to receive exclusive PDF mini-textbook straight to your email.
We hate SPAM. We will never sell your information, for any reason.
